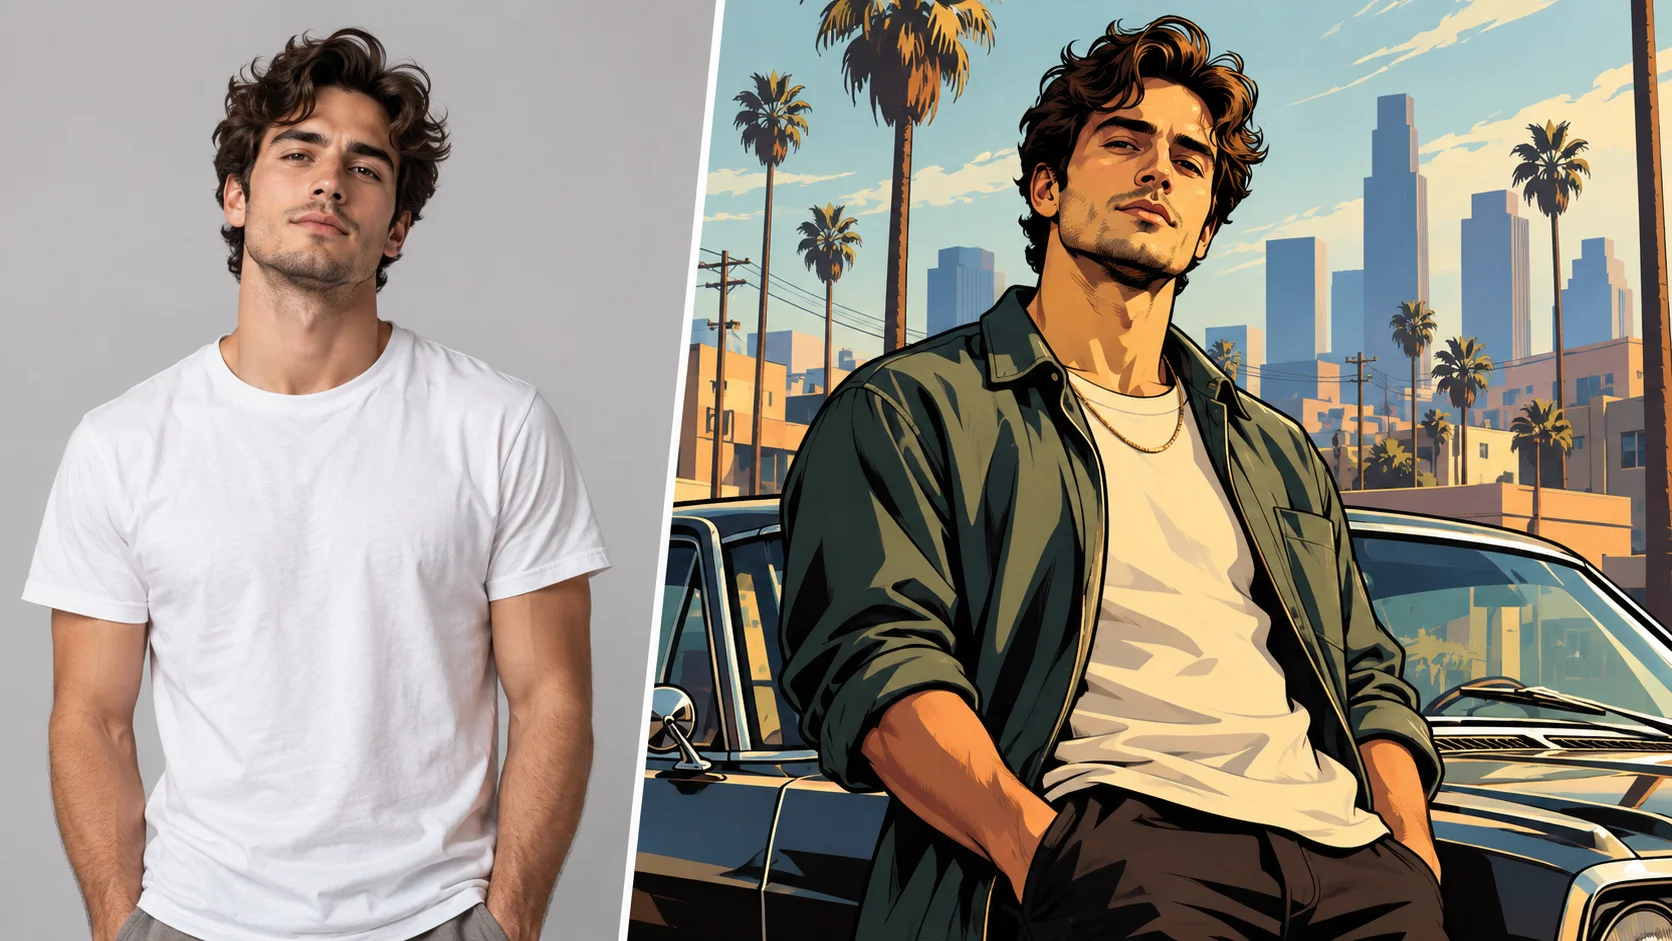
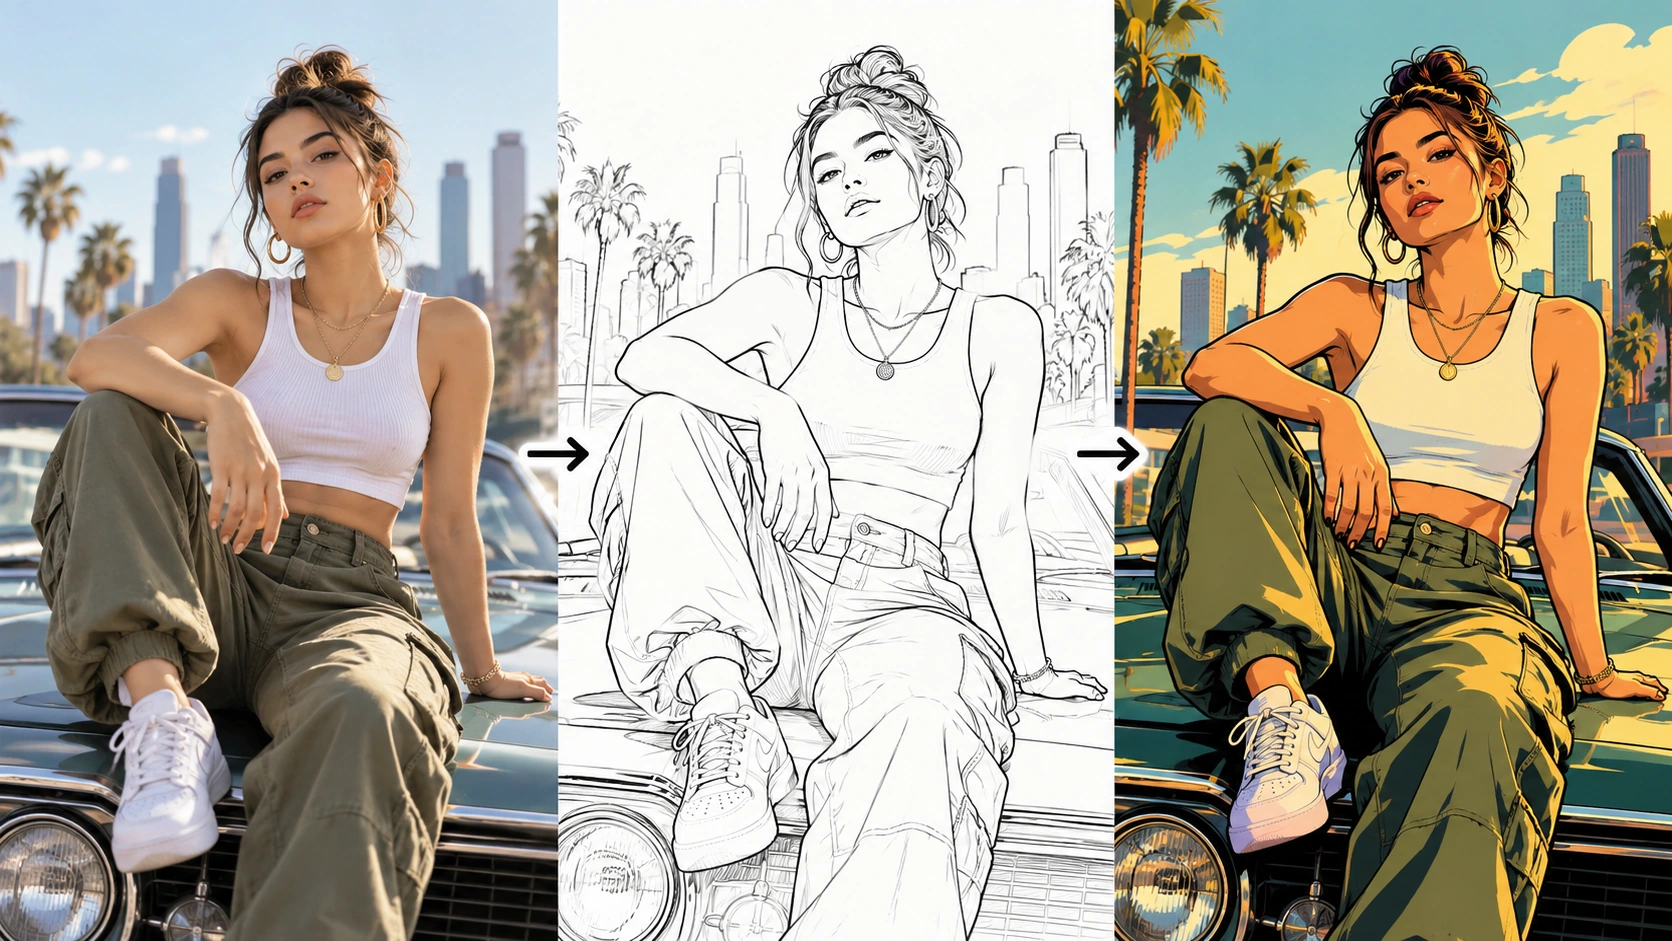
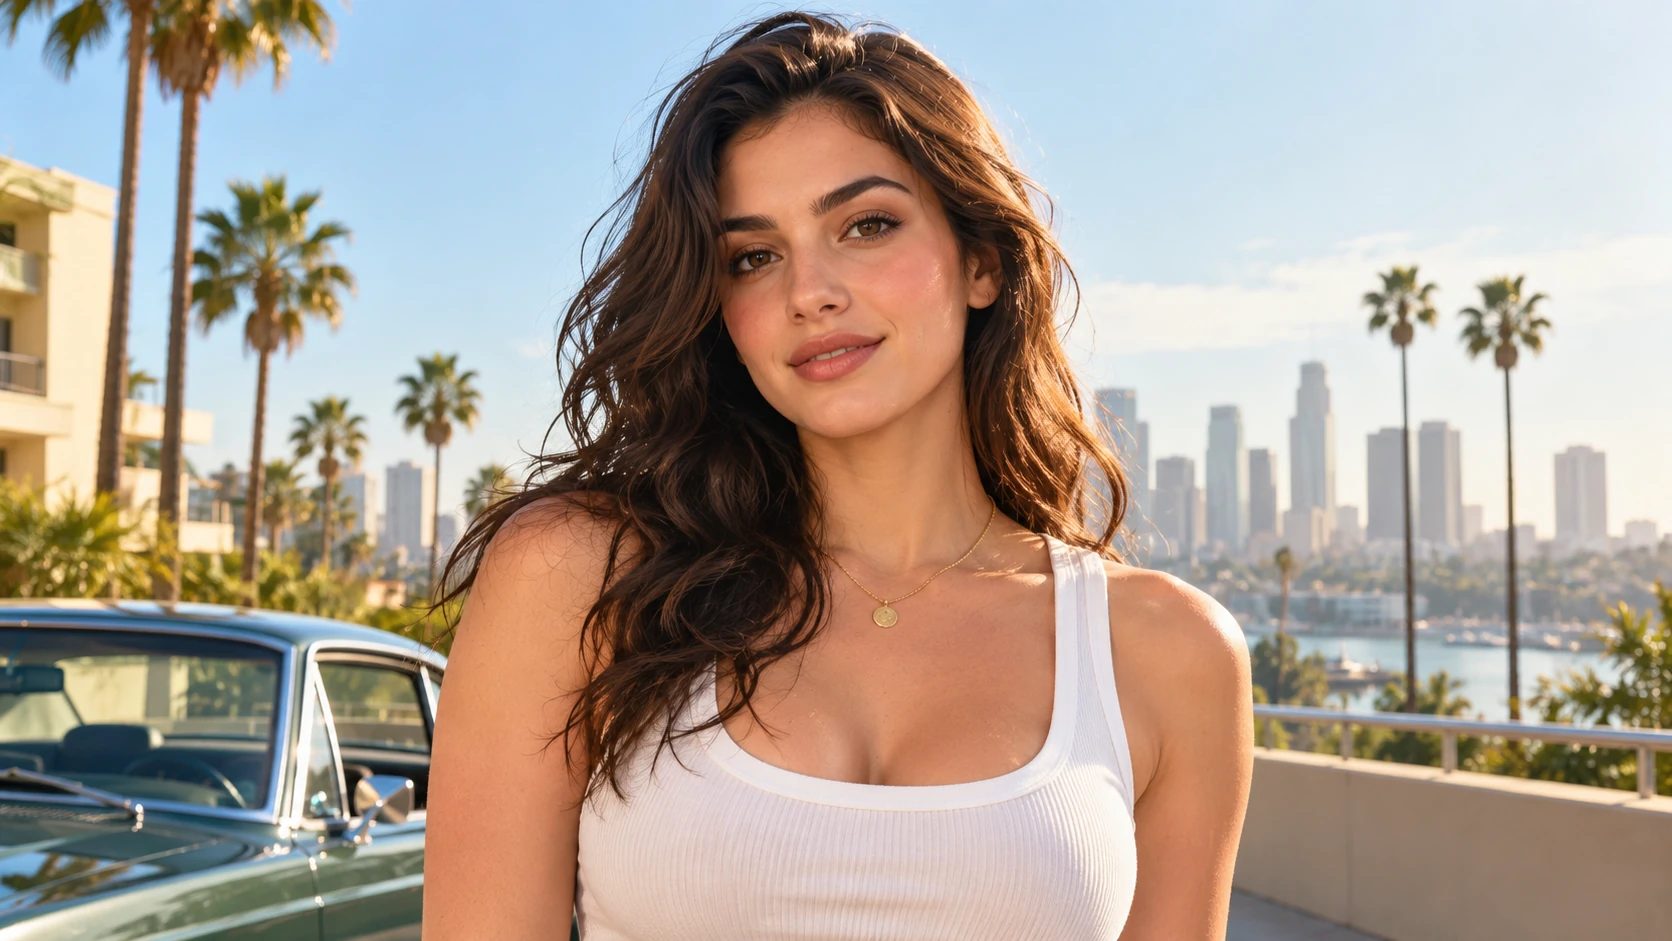
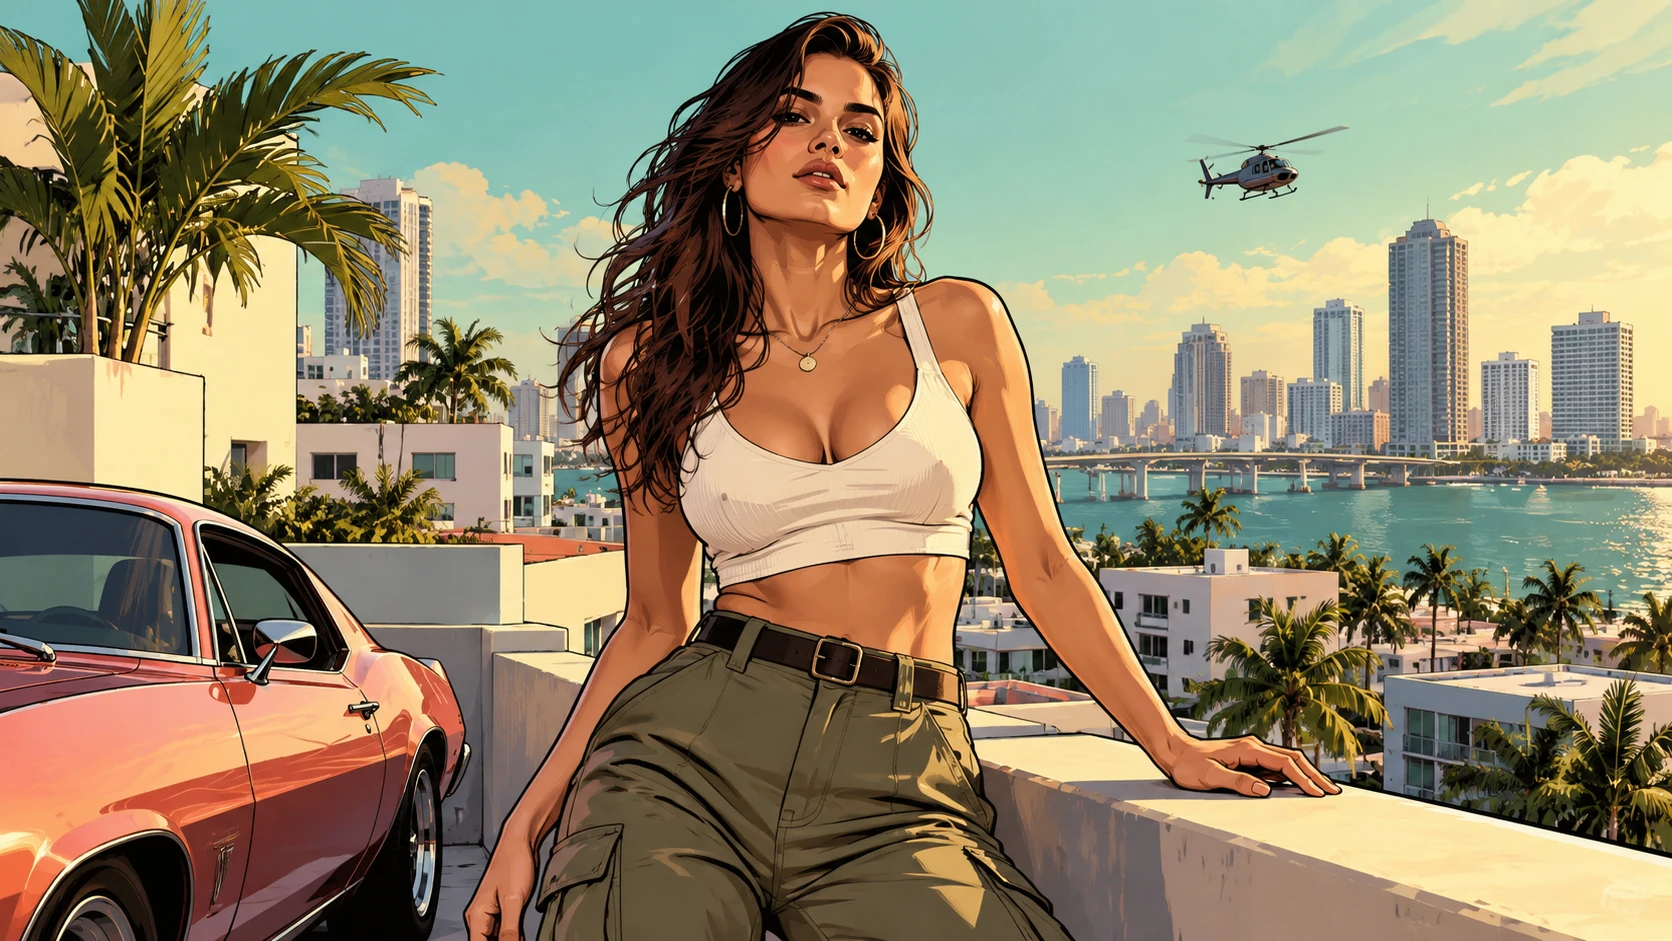
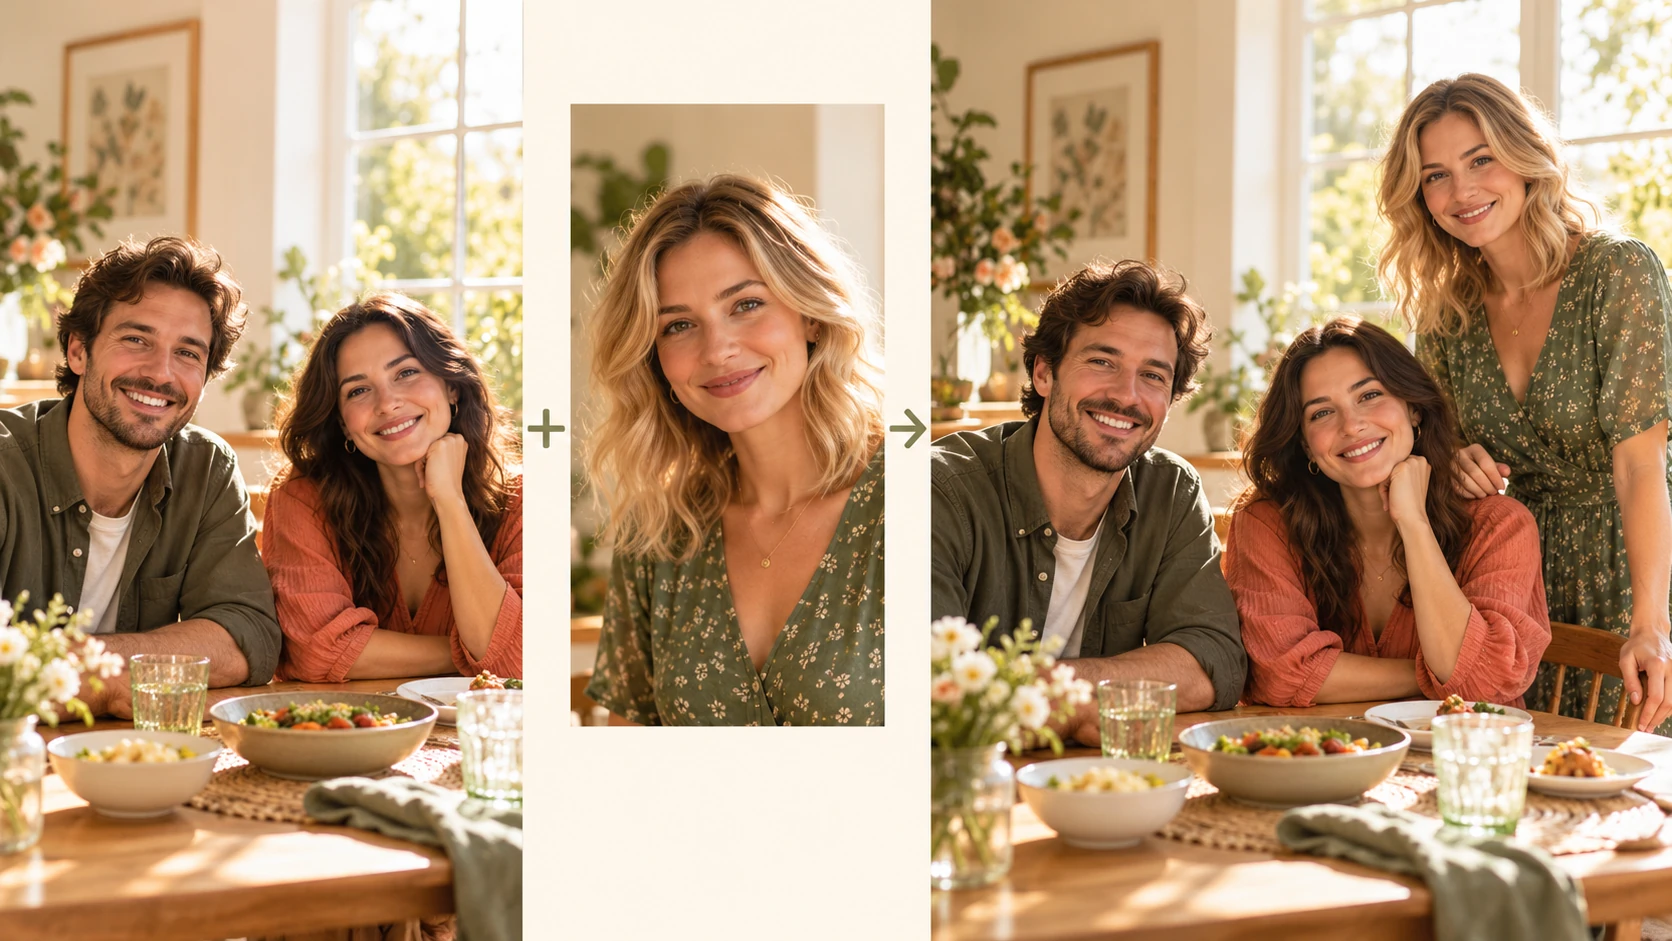
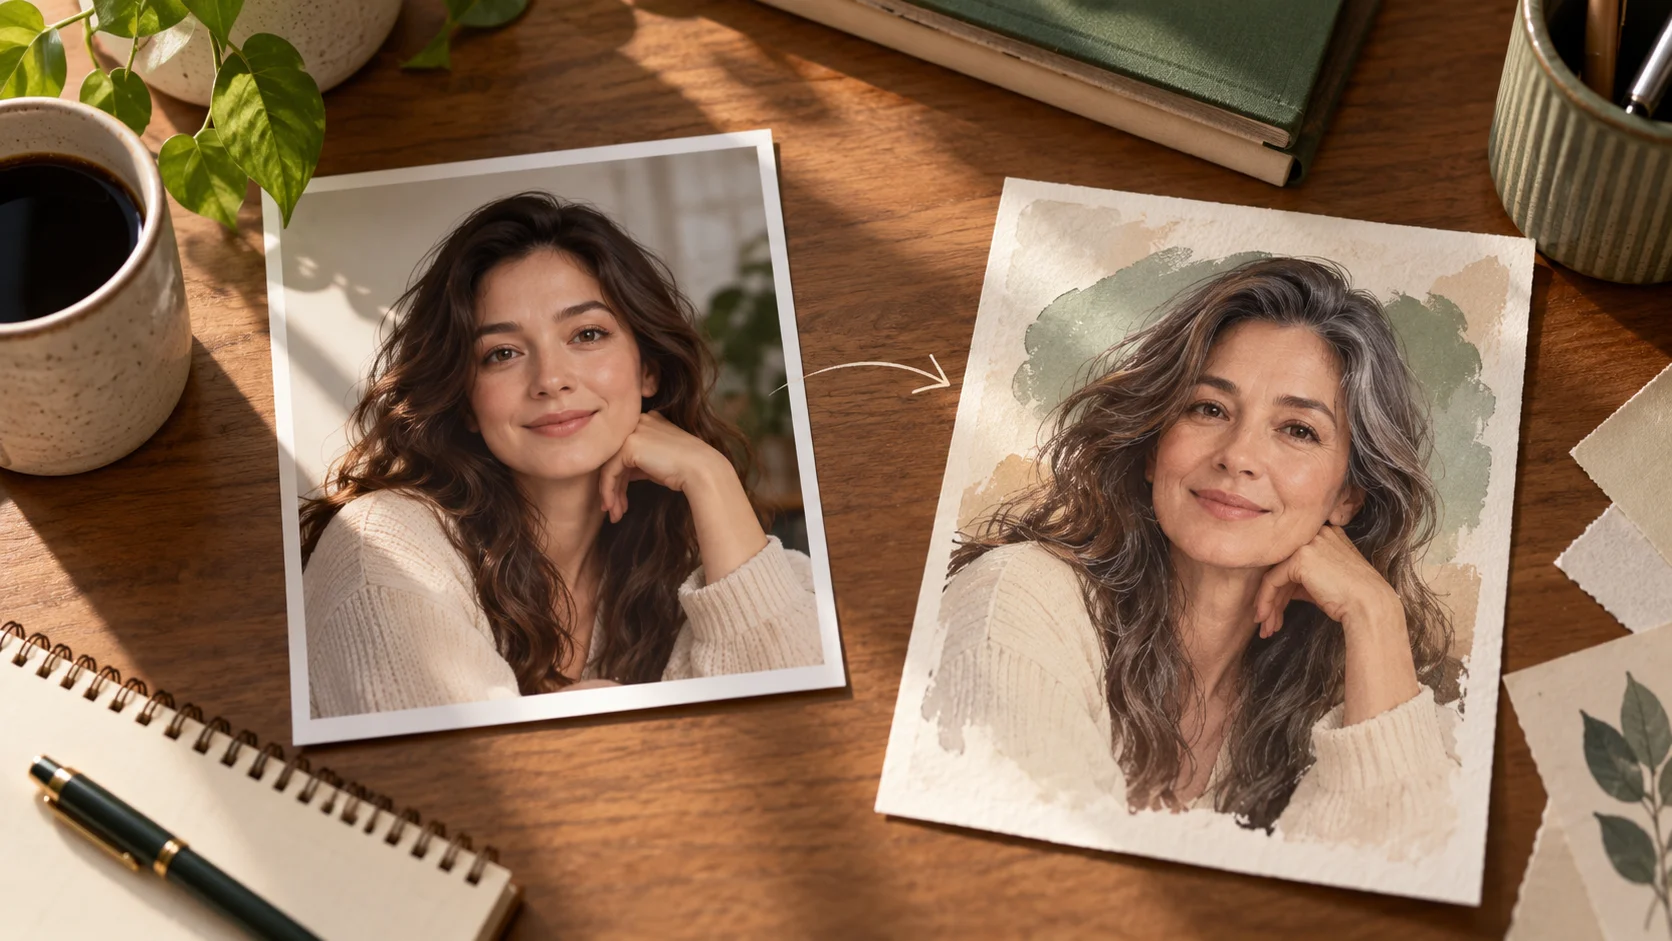
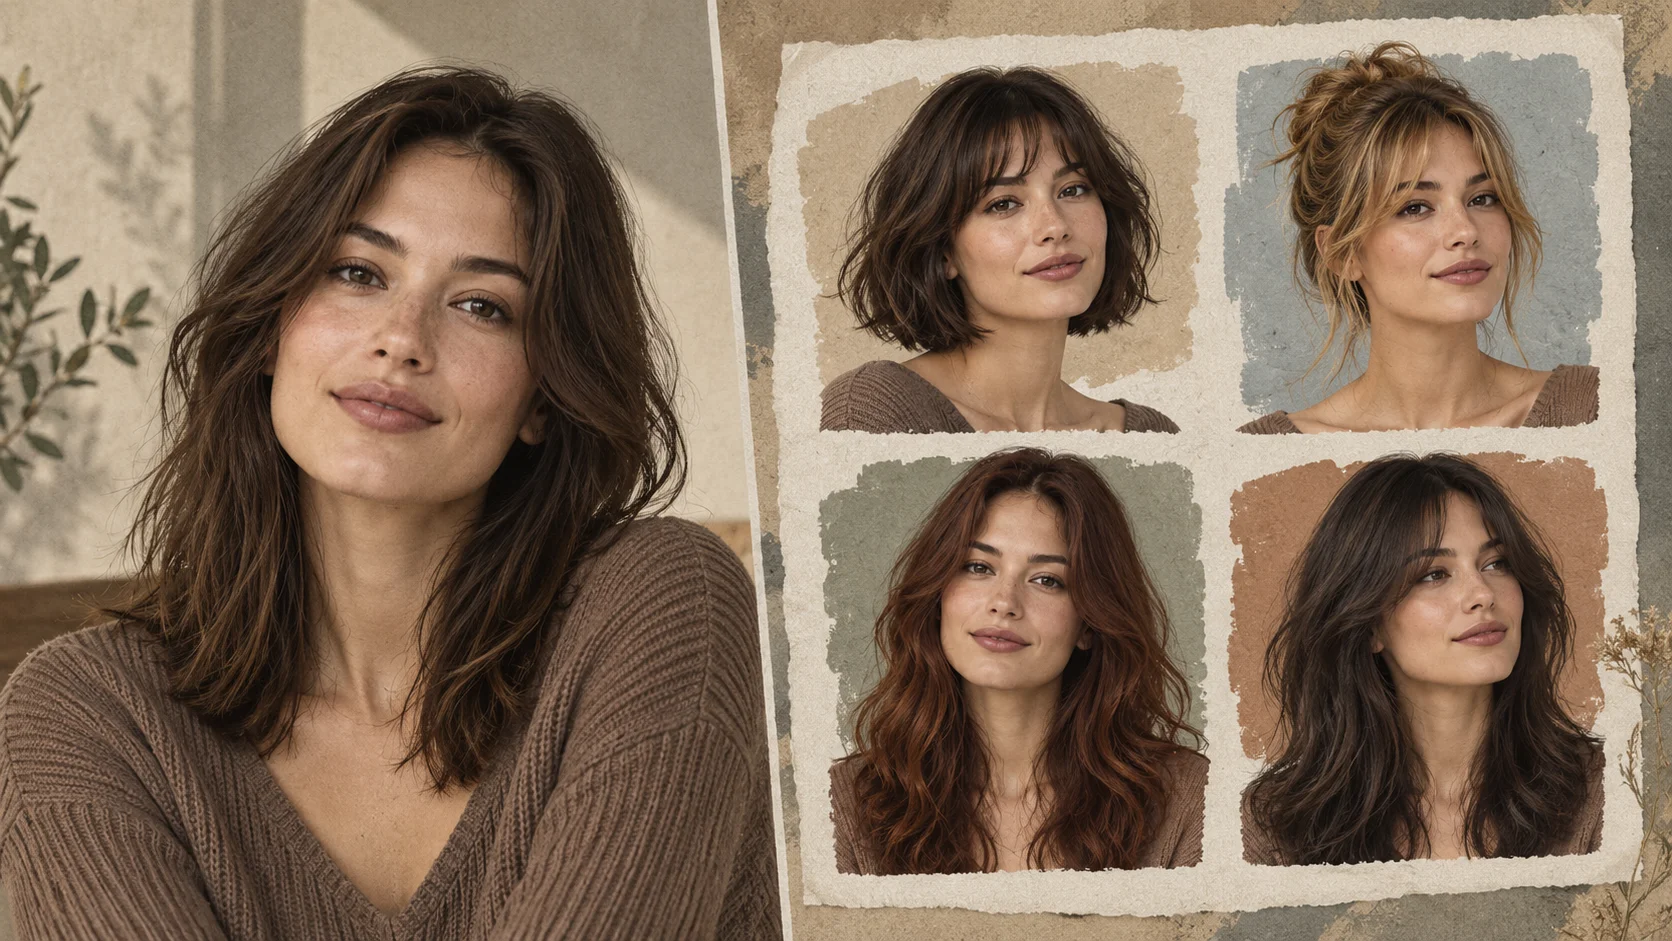
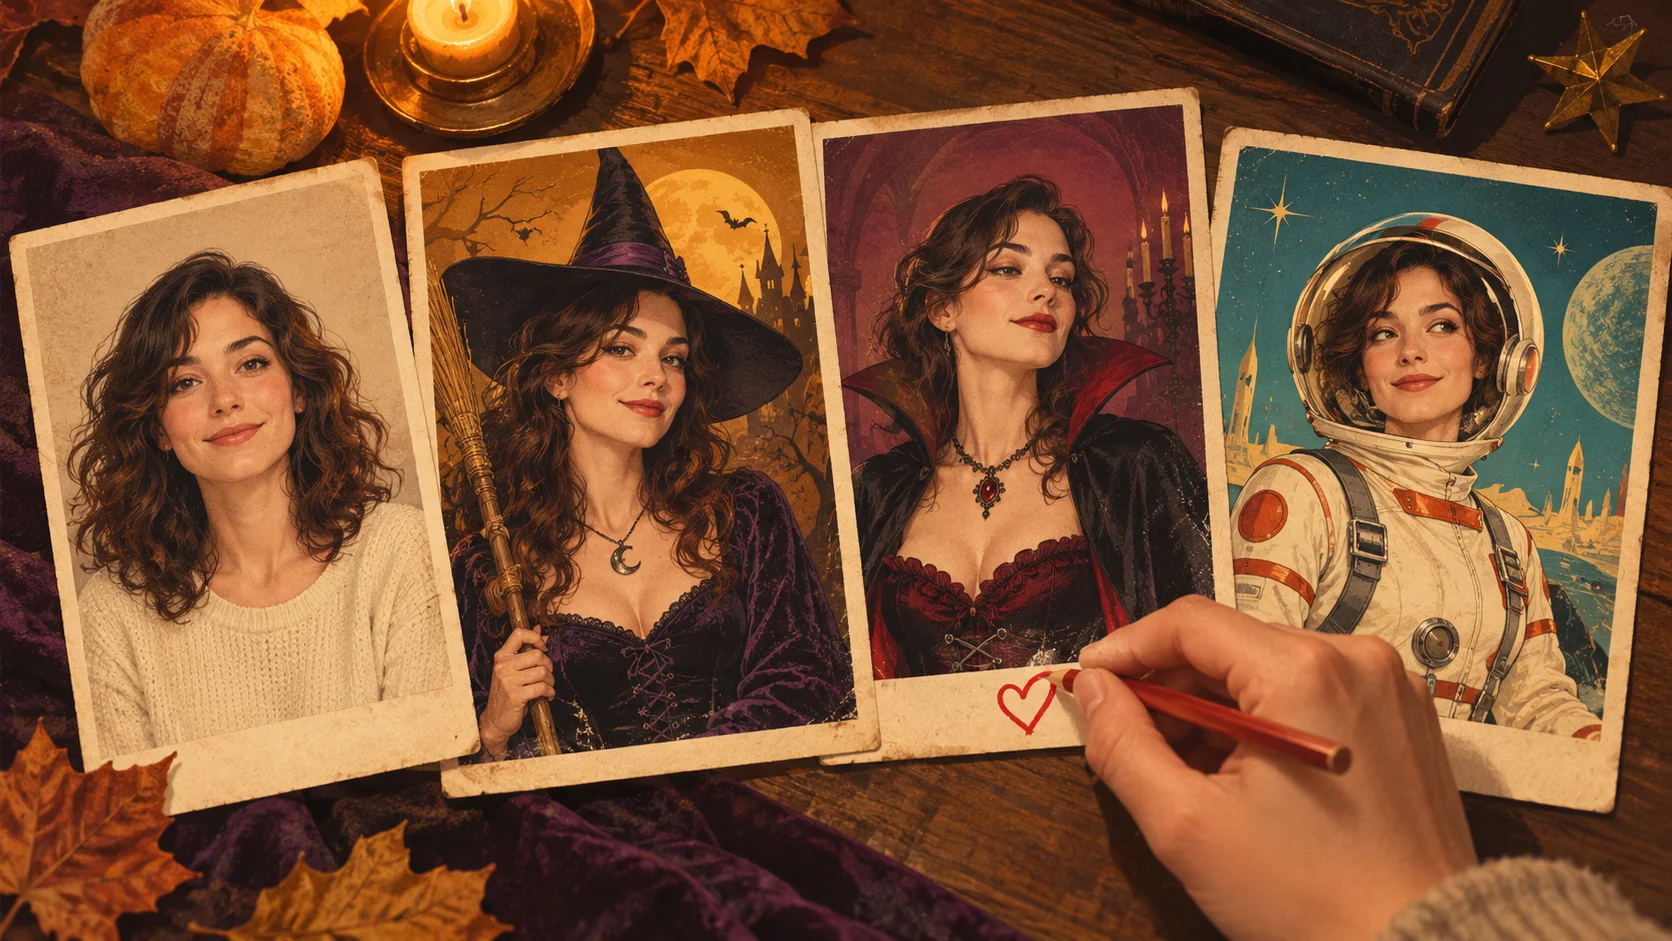
Use the silhouette, outline and color groups to build an original urban character image.
History
Your questions, answered
What is GTA Style AI Photo Generator?
Turn a photograph into an original illustrated portrait with strong outlines, sunlit color blocks and a graphic urban setting. Try it for a market-stall portrait, with your own setting and a clear visual intention.
How do I start?
Choose Text to Image or Image to Image, prepare the matching inputs and describe one useful direction. Check the settings and quote, then submit and review the result in History.
Can I try it for free?
Check your current account credits and the selected model’s access conditions. When the available balance covers the quoted job, you can generate without buying more credits.
What do I upload?
Choose one adult portrait with a clear face and shoulder outline in Image to Image. A simple pose is easier to read as bold shapes.
How much does it cost?
Read the live credit quote for the selected model and settings before submitting your illustrated urban portrait. Preparing inputs or editing a description does not start a generation.
When is the result ready?
Follow the submitted job’s estimate and progress. The model, settings and queue affect waiting; History keeps the completed image available for review and download.
Turn a photograph into an original illustrated portrait with strong outlines, sunlit color blocks and a graphic urban setting. Direct the pose, clothing and background through your description. On Try Nano Banana, approach it as a practical portrait or design study: clear preparation and a polished visual finish. Use the result to choose a direction, then check the details that matter at your intended viewing size.
Plan the illustrated urban portrait as a simple visual sequence, then put the important decisions into your description.
1. Add a photo and set the frame
Prepare a clear subject and a focused direction before submitting a generation. Use a photo where the face is sharp and evenly lit, then crop away busy background before uploading.
2. Choose wardrobe, material and scene
Write the direction as a short art brief. Name garments, fabric behavior and color groups. Describe the location as large shapes rather than fine detail. Use the model controls to set the look, and switch to normal text-to-image mode when you want to build a scene without a photo.
3. Read the quote, generate and review
The generator shows a live credit quote before a job runs. Review the updated amount whenever you change the model or settings. Check the eyes and hands, then see whether thick outlines remain consistent across the subject.
Prepare the photo and judge the result
Prepare a clear subject and a focused direction before submitting a generation.
Upload a clear portrait photo. Face the subject toward open light if possible. Crop tight enough that the head and shoulders read strongly. Check the prompt box and describe the person, pose and any clothing details you want kept. Keep the original background out of your plan; it will be replaced by a designed scene.
Use a photo where the face is sharp and evenly lit, then crop away busy background before uploading.
Name three color groups in the prompt so the scene has a deliberate palette instead of random blocks.
Read the live credit quote before starting, and compare jobs in History rather than judging one image alone.
Choose the mode before preparing the illustrated urban portrait; keep uploaded media in the photo mode and describe a new subject directly in the text mode.
What the illustrated output gives you
Outline-led portrait treatment
The portrait is drawn with thick outlines and flat color blocks rather than photographic shading. That makes silhouettes and poses read clearly at poster size. You can direct the weight of clothing shapes through your prompt, so a jacket or coat becomes a strong graphic element in the composition.
Wardrobe and material direction
Describe fabric as visual behavior: stiff canvas holding a square shoulder, glossy material picking up a highlight, knit texture broken into simple patches. Your words steer how those materials translate into illustration. The result stays an original artwork rather than a copy of any game interface.
Poster composition and scene
The scene is built from sunlit urban color blocks: walls, pavement, sky and shadow areas arranged around the subject. You can request location types and light direction in the prompt. The generator also runs in normal mode for text-to-image work when you want a scene with no uploaded photo.
Variations worth trying
Use clear preparation and a polished visual finish to shape an illustrated urban portrait that fits your idea.
A market-stall portrait
Place the subject beside a produce stall. Ask for striped canvas awnings, crates and warm afternoon light. Keep the clothing simple so the awning stripes and crate blocks carry the color.
A rooftop at golden hour
Set the figure on a rooftop with water tanks, low walls and long shadows. Request a windbreaker with a crisp fold and a skyline reduced to flat bands behind the head.
A night-shift diner exterior
Use a diner facade with lit windows and a curb. Ask for a leather jacket highlight and neon color patches. Keep the pose still so the building geometry frames the portrait.
GTA style portrait questions
What does the generator produce from a photo?
It produces an illustrated portrait built on thick outlines, sunlit urban color blocks and poster-style composition. The original background is replaced by a designed scene. The artwork is original and does not copy official game art or logos.
What kind of photo works best as input?
A sharp, evenly lit portrait with a visible face and shoulders works best. Avoid heavy blur, obstruction or extreme angles. You can upload the photo, then edit the prompt to describe the person and pose you want preserved in the illustration.
How do wardrobe and scene choices affect the result?
Your prompt words act as an art brief. Naming garments, fabric behavior, color groups and location shapes gives the model concrete direction. Use the model controls for available settings, and switch to normal mode for text-to-image work without a photo.
Can I recreate a specific game screen or logo?
No. The page is built for original illustrated portraits and does not reproduce official artwork, interfaces or logos. Describe general qualities such as bold outlines, flat color and poster layout instead of naming protected designs or brands.
Should I choose Text to Image or Image to Image?
Choose Text to Image for a new illustrated urban portrait made entirely from your description; it uses no uploaded reference. Choose Image to Image when one photo should guide the person, subject or composition. Select the mode first so the visible inputs match your intention.
Can I use my available credits without buying a plan?
You can prepare the illustrated urban portrait before submitting. To generate, check your signed-in account’s current credits and the selected model’s access conditions. If the available balance covers the displayed quote, you can proceed without buying more; no fixed free quota is promised.
What does an illustrated urban portrait generation cost?
Your illustrated urban portrait has a live credit quote based on the model and settings you choose. Check it before submitting. Editing the description or reviewing an idea does not start a job; submitting another generation creates a separately quoted attempt.
How long should I wait, and where is the result?
Use the estimate and progress shown for the submitted illustrated urban portrait job. Model choice, settings and queue conditions affect waiting. Check History for the completed image, and keep the existing task in progress instead of resubmitting the same request while you wait.
Use the result to choose a direction, then check the details that matter at your intended viewing size. Prepare the illustrated urban portrait, read the current quote and submit when the direction is clear.