What is Custom Font Generator?
Generate a lettering image from a short exact word and a design description. Try it for a shop sign mock-up, with your own setting and a clear visual intention.

a practical portrait or design study
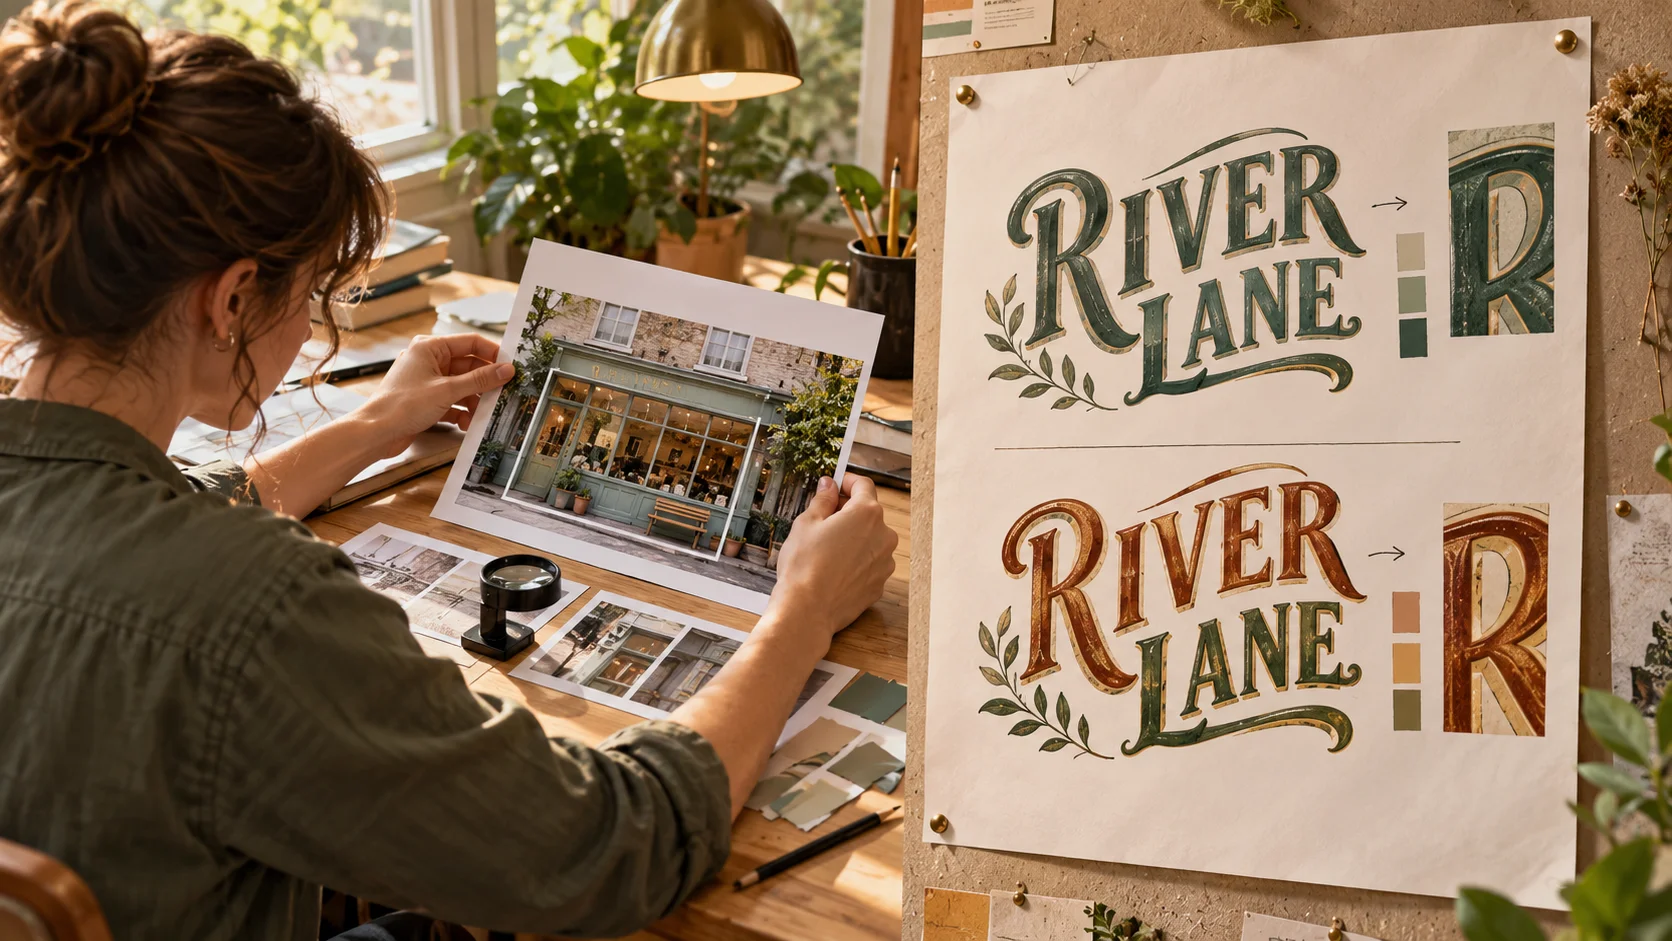
Generate a lettering image from a short exact word and a design description. Try it for a shop sign mock-up, with your own setting and a clear visual intention.
Choose Text to Image or Image to Image, prepare the matching inputs and describe one useful direction. Check the settings and quote, then submit and review the result in History.
Check your current account credits and the selected model’s access conditions. When the available balance covers the quoted job, you can generate without buying more credits.
Text to Image needs the exact word written in the description and no uploaded photo. Keep the word short; NOVA is the sample shown here.
Read the live credit quote for the selected model and settings before submitting your lettering image. Preparing inputs or editing a description does not start a generation.
Follow the submitted job’s estimate and progress. The model, settings and queue affect waiting; History keeps the completed image available for review and download.
Generate a lettering image from a short exact word and a design description. Direct the letter shapes, weight, texture and background for a poster or visual heading. On Try Nano Banana, approach it as a practical portrait or design study: clear preparation and a polished visual finish. Use the result to choose a direction, then check the details that matter at your intended viewing size.
Generate custom lettering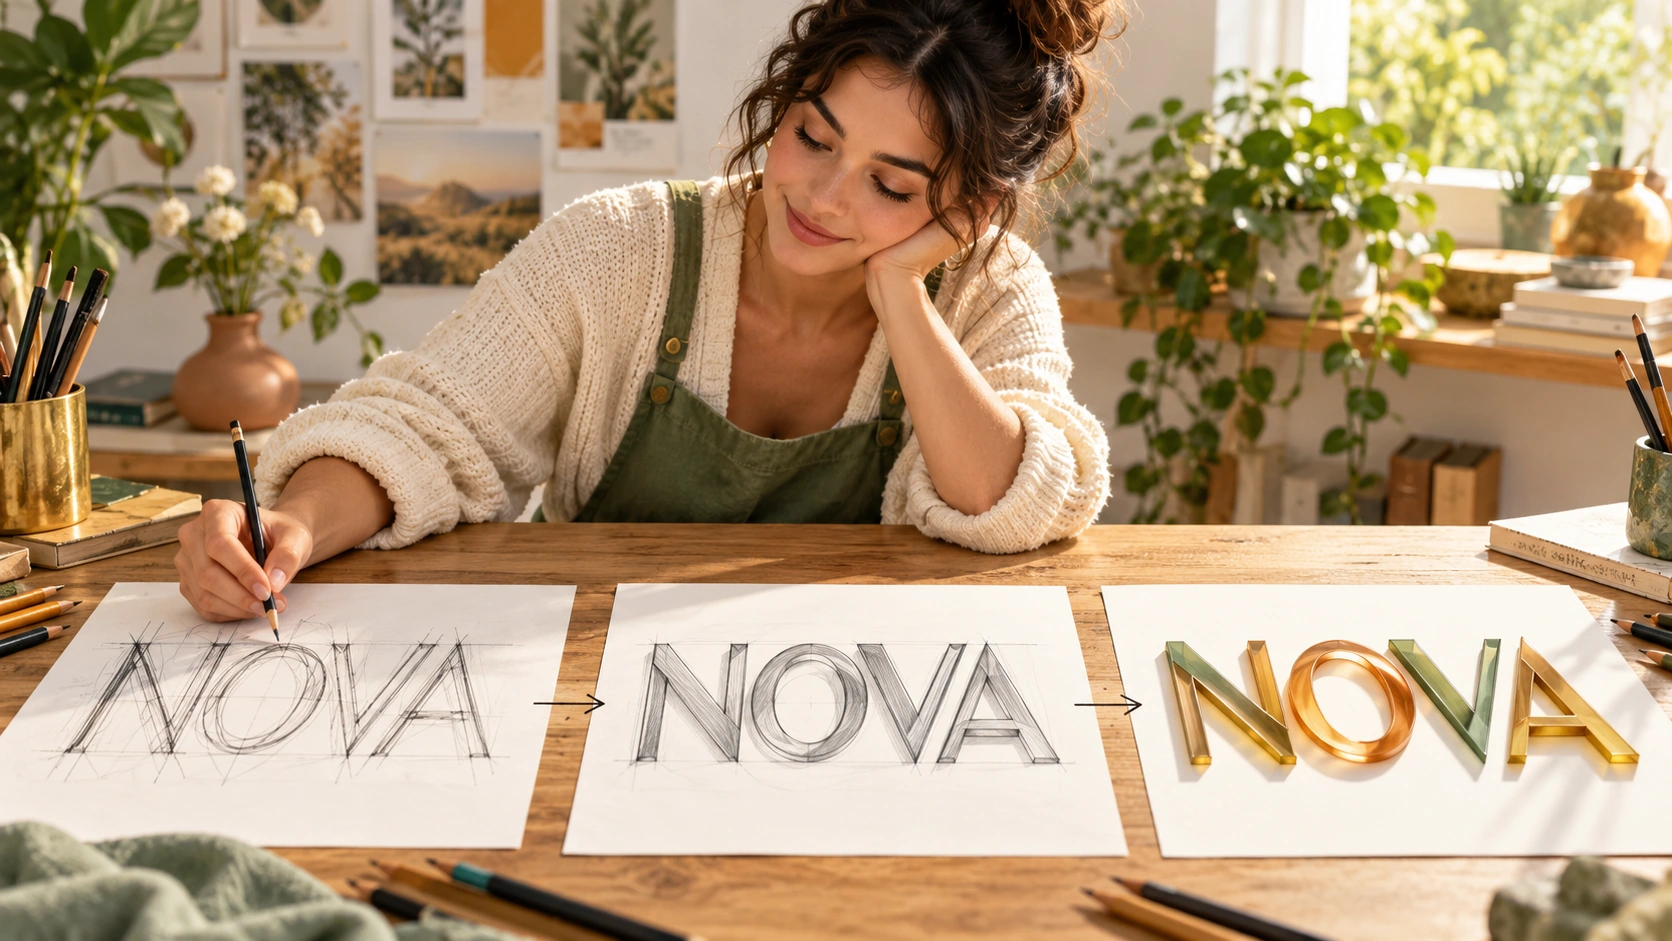
Prepare a clear subject and a focused direction before submitting a generation. Write the exact words in a notes file before you open the generator so capitalisation and punctuation stay fixed across runs.
Type the short words precisely, including capitalisation and punctuation. Describe weight, spacing, slant, texture and mood in plain terms. Use the editable prompt and model controls to test one variable at a time, such as stroke thickness, so comparisons stay meaningful and repeatable.
Read the displayed live credit quote before starting a job. Sign in to your account, run the generation and open History to compare results side by side. Check each letter against your input, note spacing changes, and keep the version that reads correctly at final size.
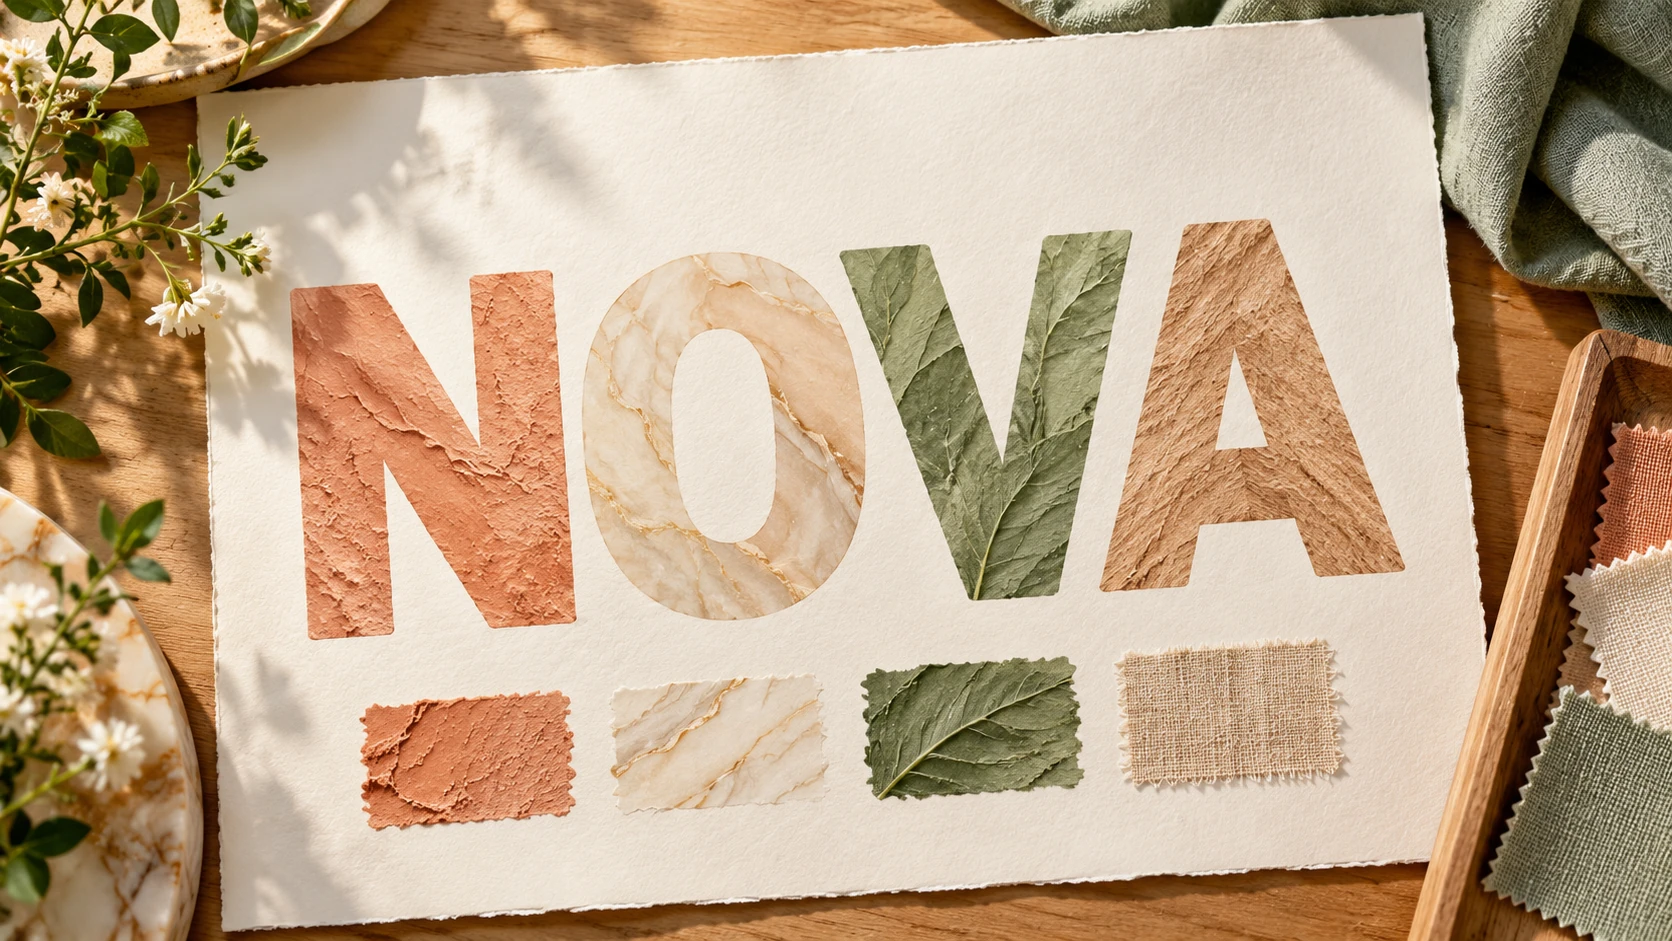
Choose a photo with even light and a simple background. Crop to the area that matters and check orientation before upload. If the image includes existing text, note its position and letterforms so you can describe what to keep or change. Clear references reduce guesswork in the prompt.
The generator renders the words you enter rather than a character-complete font. That suits a headline, label or short sign. It does not give you a TTF, OTF or installable file, so keep the wording brief and plan how the raster image will sit in your layout.
Prompt direction and model controls influence weight, contrast, texture and spacing. Change one instruction at a time and keep notes on what each change produced. Small, specific edits tend to reveal more than long lists of adjectives, especially when you compare two runs of the same words.
Text accuracy varies between runs. Inspect every letter for shape, order and punctuation. Look closely at similar characters and tight spacing. The output is a raster image, not an editable vector, so corrections usually mean another generation rather than direct path editing in a design tool.
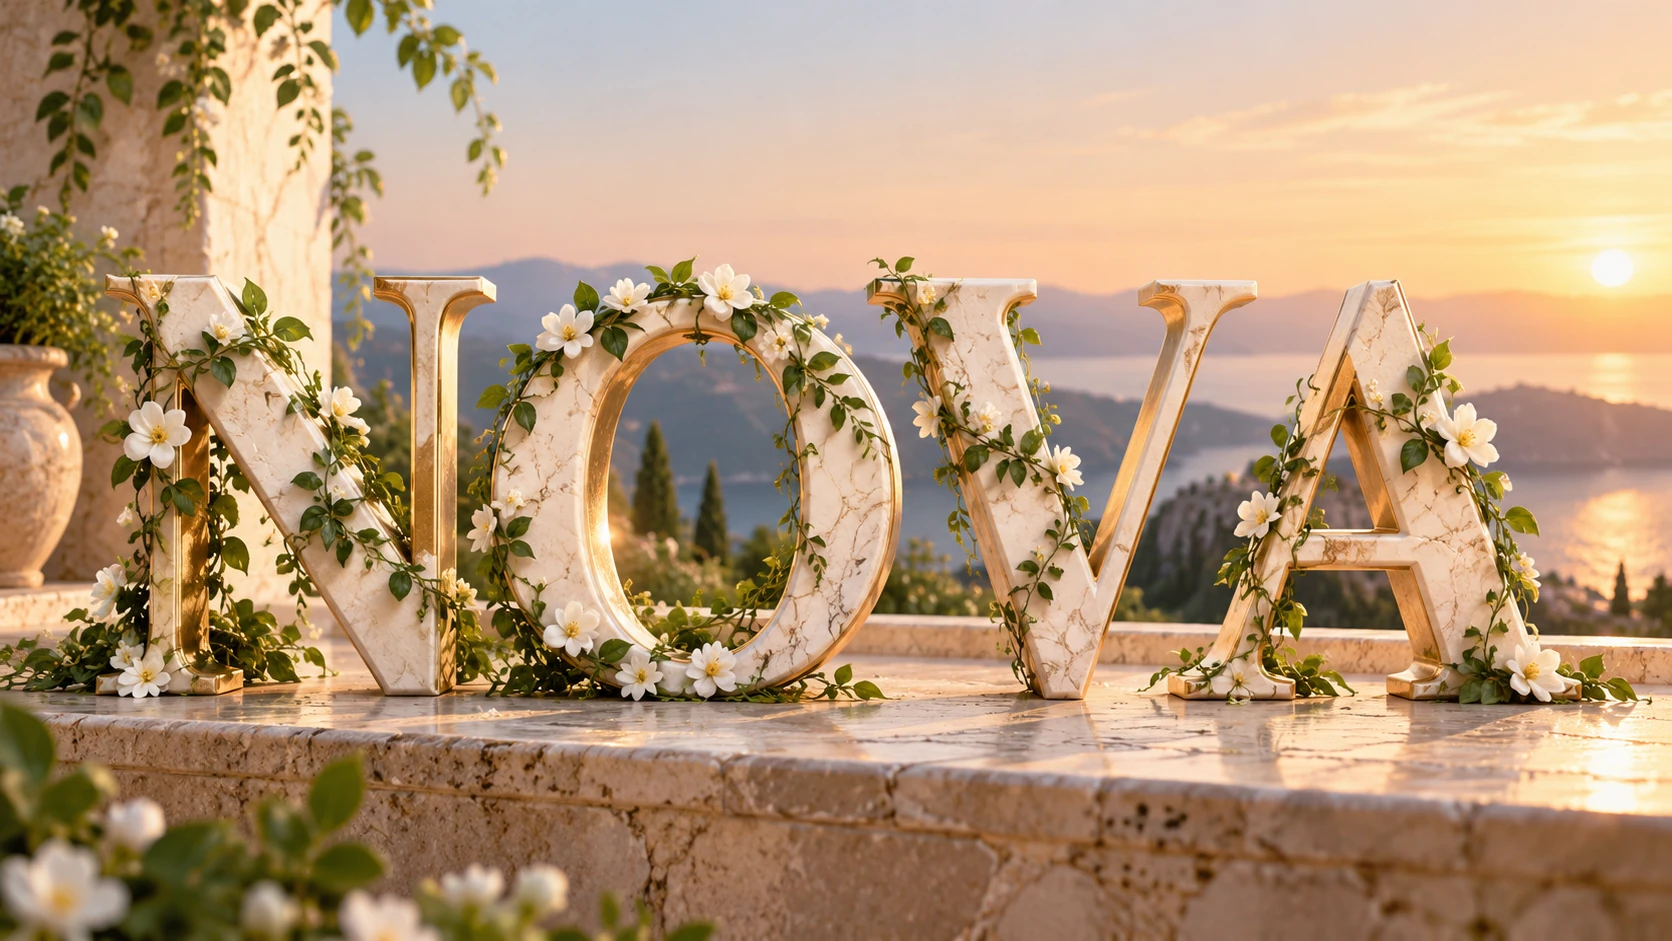
Photograph a plain shopfront panel, upload it as reference and generate the short trading name. Compare three runs for legibility at sign distance before placing the chosen raster image into a mock-up.
Upload a photo of a cake surface and generate a first name in a piped style. Compare weight and spacing across two runs, then pick the one that stays readable from across a table.
Start with a still-life photo for colour and texture, then generate a two-word poster title. Use History to compare texture against contrast and choose the version that holds up when scaled down.
No. The Custom Font Generator produces styled lettering as a raster image from the short words you enter. It does not output a downloadable TTF, OTF, installable font or editable vector, so treat the result as artwork rather than a typeface for your system.
Pick an image with even lighting, modest clutter and a clear subject area. Crop before upload so the generator sees the surface or shape you care about. Avoid heavy motion blur and strong colour casts, which can pull the lettering style away from your intent.
Name the visual qualities you want, such as bold weight, wide spacing, rounded corners or rough texture. Keep the word list short and change one instruction per run. Vague mood words alone give you less to compare than concrete traits tied to the reference photo.
Not always. Text accuracy varies, so review each letter for shape, order and punctuation before you use an output. Similar characters and tight spacing deserve extra attention. If something is wrong, adjust the prompt or reference and generate again rather than assuming a clean result.
Choose Text to Image for a new lettering image made entirely from your description; it uses no uploaded reference. Choose Image to Image when one photo should guide the person, subject or composition. Select the mode first so the visible inputs match your intention.
You can prepare the lettering image before submitting. To generate, check your signed-in account’s current credits and the selected model’s access conditions. If the available balance covers the displayed quote, you can proceed without buying more; no fixed free quota is promised.
Your lettering image has a live credit quote based on the model and settings you choose. Check it before submitting. Editing the description or reviewing an idea does not start a job; submitting another generation creates a separately quoted attempt.
Use the estimate and progress shown for the submitted lettering image job. Model choice, settings and queue conditions affect waiting. Check History for the completed image, and keep the existing task in progress instead of resubmitting the same request while you wait.
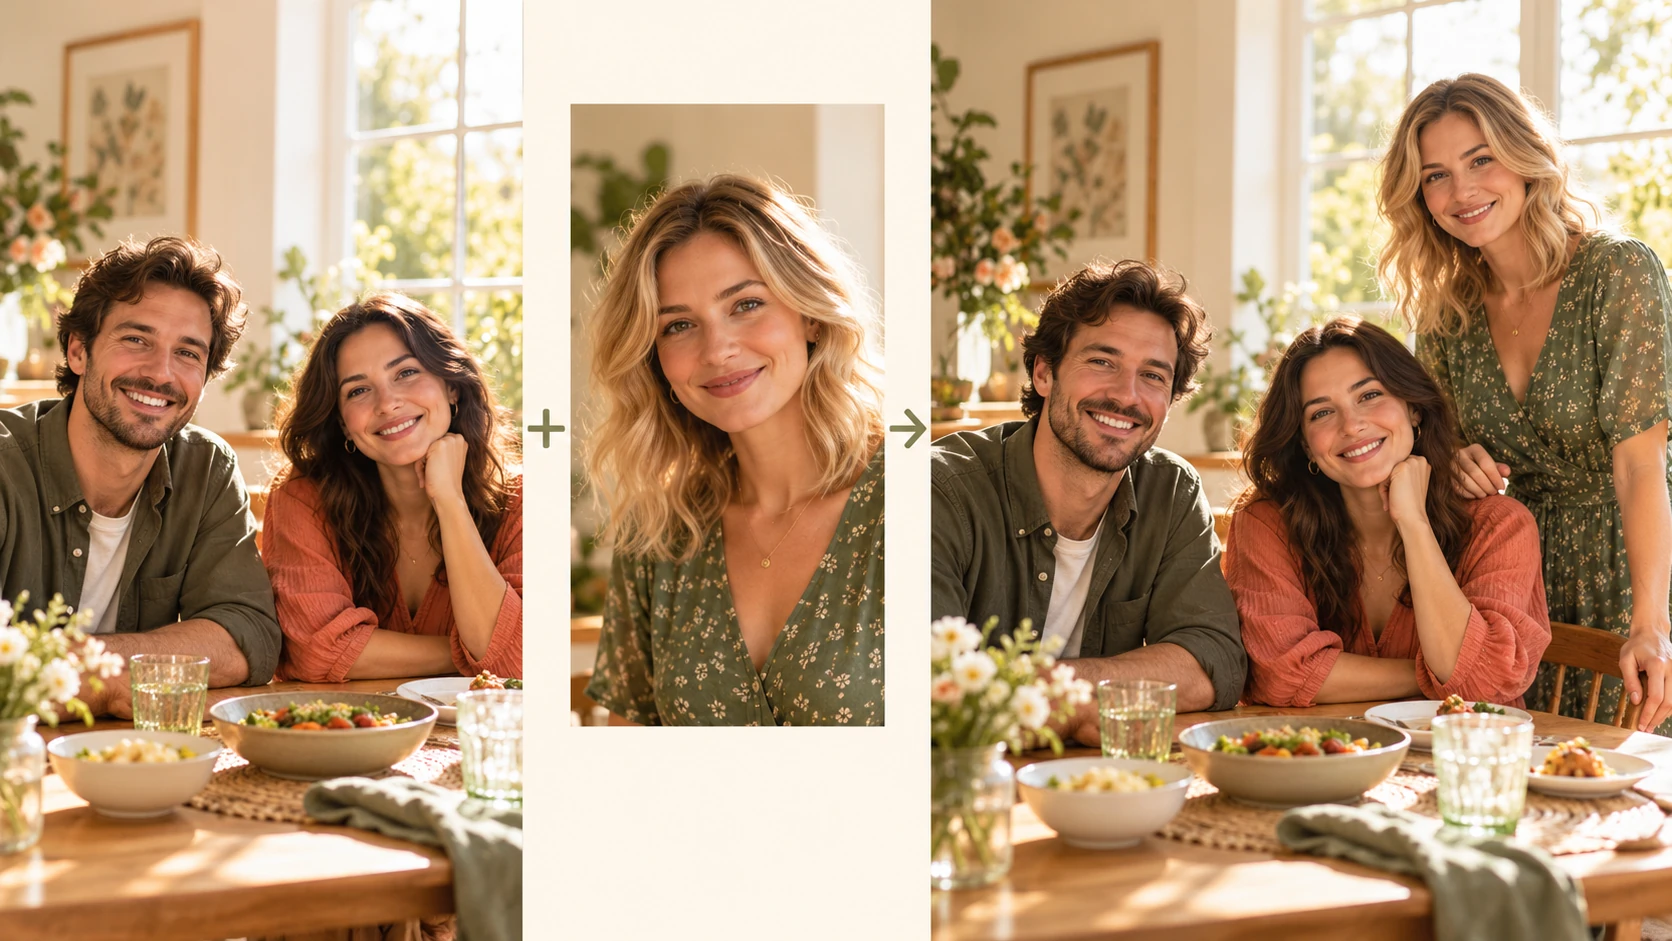
Explore Add People To Photo for a different visual direction. This guide explains its input, practical steps and the details to review.

Explore AI Age Checker for a different visual direction. This guide explains its input, practical steps and the details to review.
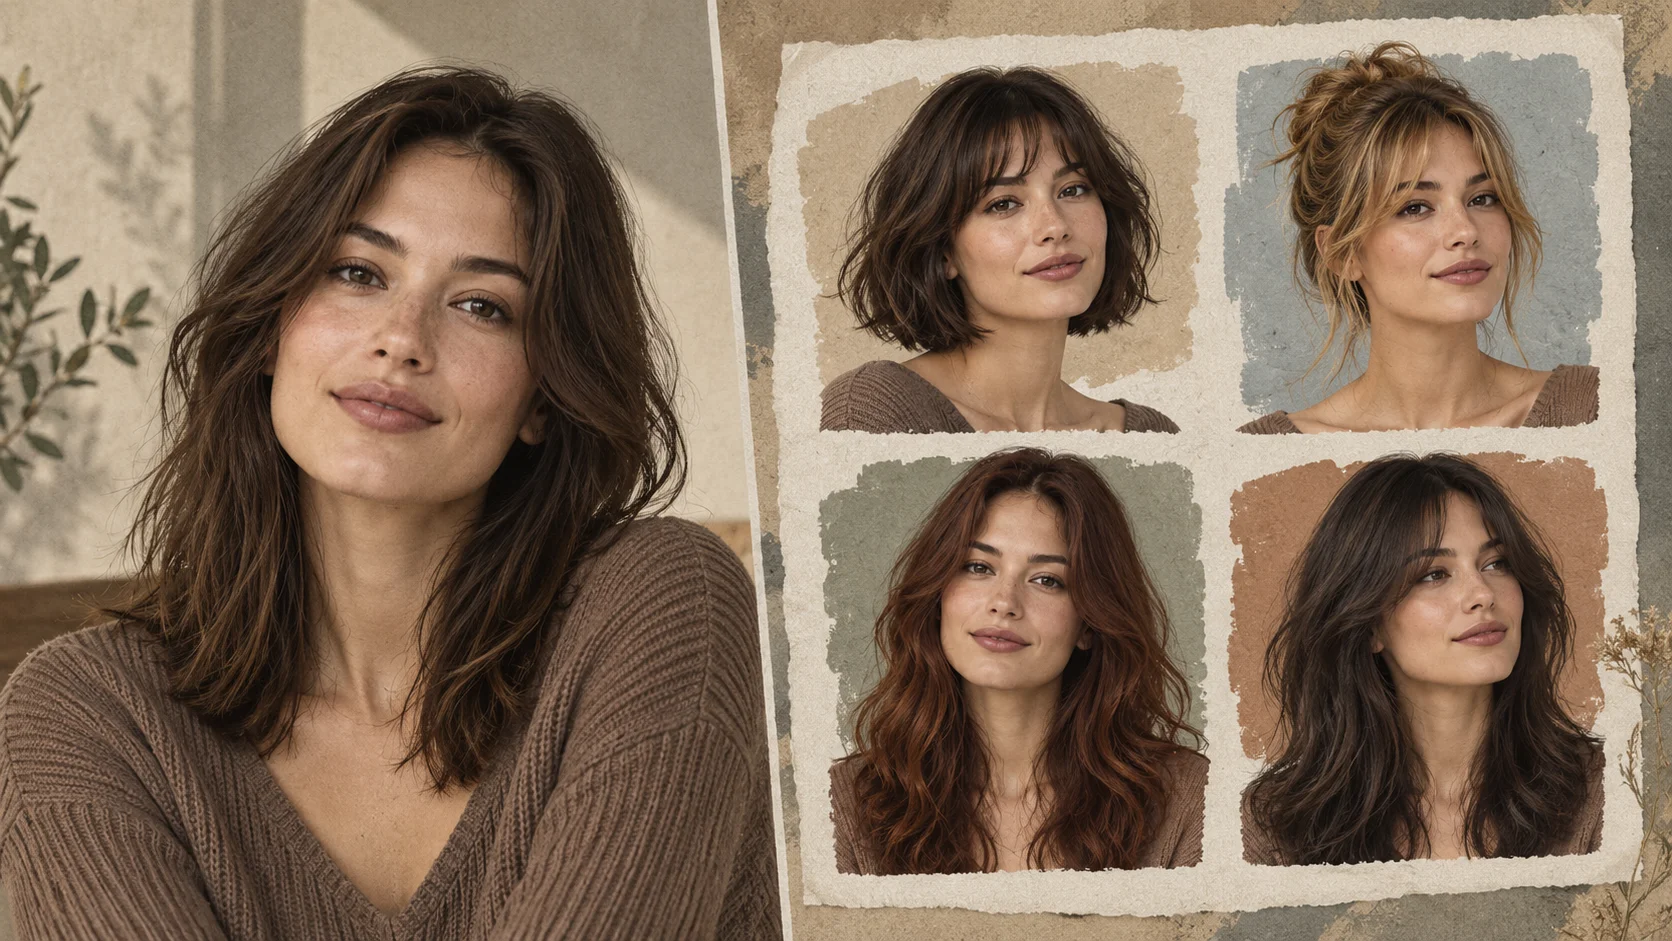
Explore AI Hairstyle Online Free for a different visual direction. This guide explains its input, practical steps and the details to review.
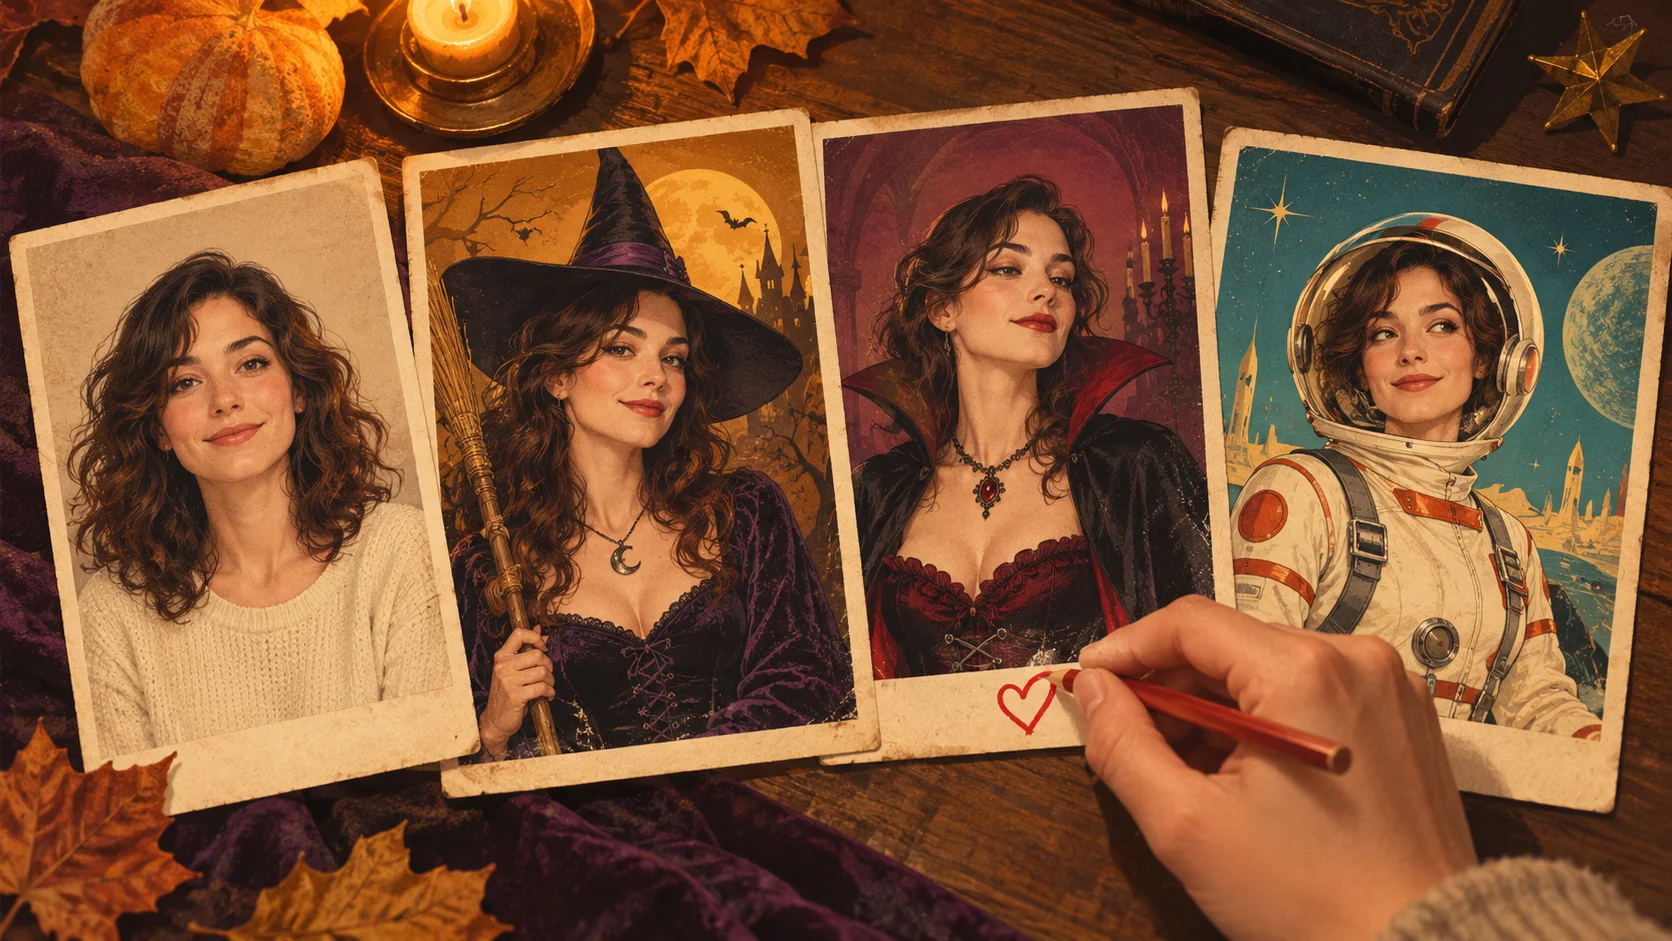
Explore AI Halloween Costume for a different visual direction. This guide explains its input, practical steps and the details to review.
Use the result to choose a direction, then check the details that matter at your intended viewing size. Prepare the lettering image, read the current quote and submit when the direction is clear.
Generate custom letteringtry-nanobanana.com · Updated